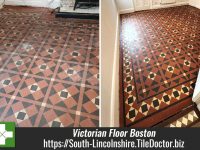
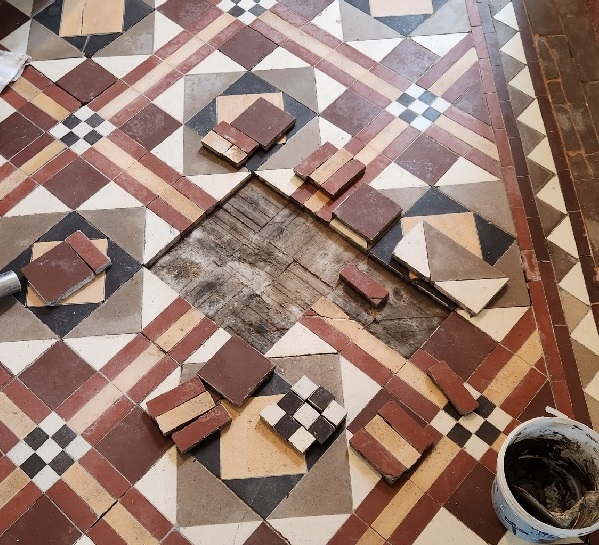
I recently worked on several Victorian Tiled floors at a property in the Lincolnshire market town of Boston. With a few exceptions the tiles were generally in good condition and just needed a deep clean and fresh seal. The exceptions were a several areas of loose tiles that needed to be refitted before the cleaning process could begin.
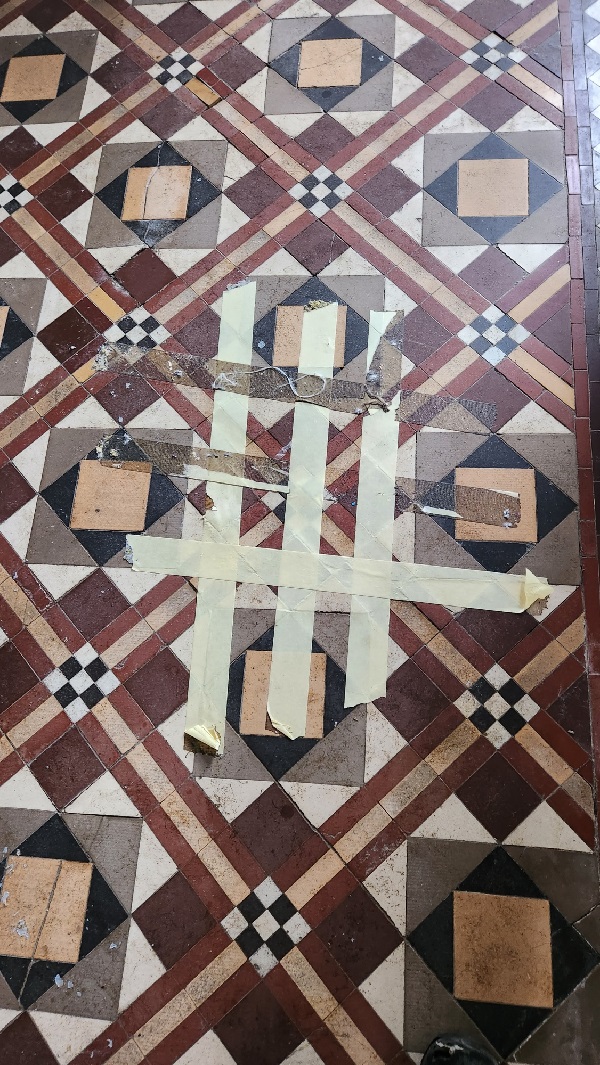 | 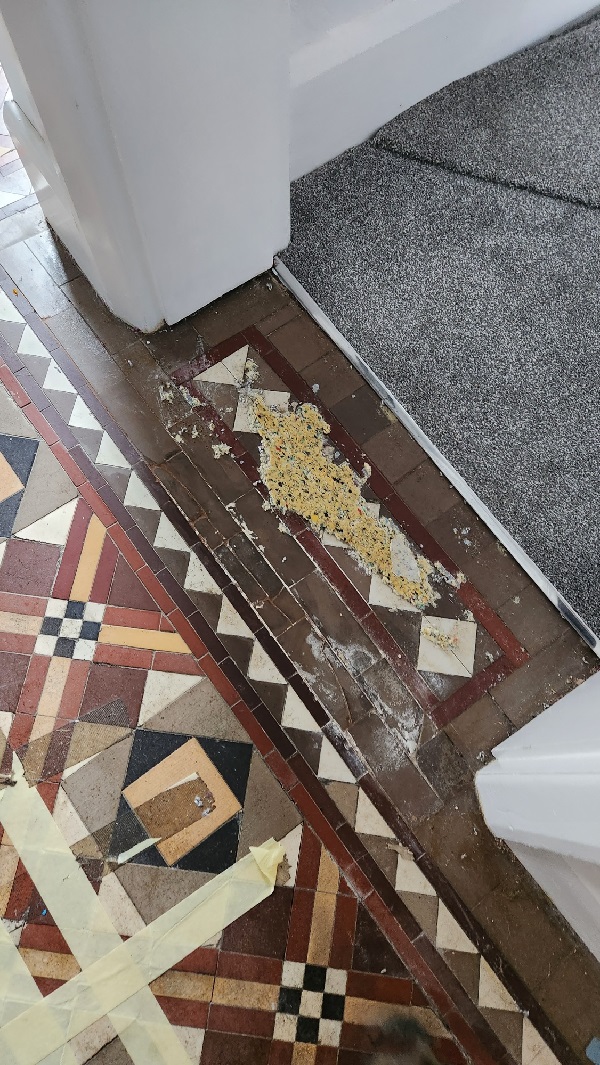 |
Lose tiles are a quote common with tiled floor of this age and something I am more than happy to deal with. Another issue was that some of the floors had been covered in carpet and there were still some remnants of underlay stuck to the tiles when I arrived.
 | 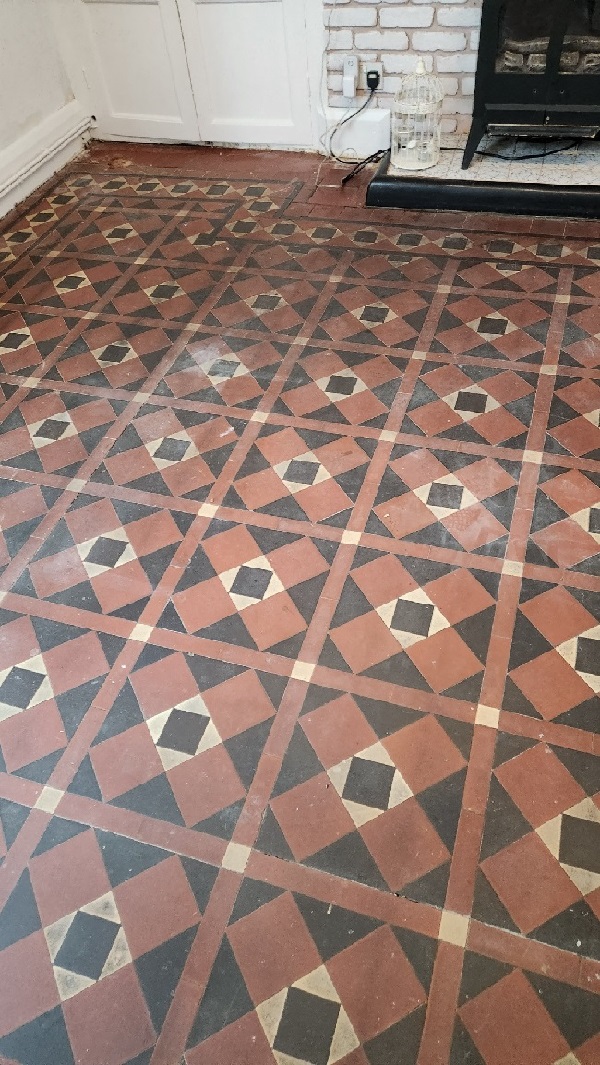 |
Old floors like this were not built with a damp-proof membrane under the floor to stop moisture rising up from the subfloor, as a result the tiles should be left to breathe and not covered up or this can result in a build-up of damp and the appearance of efflorescence. I had to consider this when planning the restoration and I made sure to point out to the owner that it would be necessary to use a fully breathable sealer.
Restoring Victorian Floor Tiles in Boston
On the first day I set about lifting the loose tiles, cleaning up the base and then re-securing the original Victorian tiles with fresh adhesive and grout. It’s always interesting when lifting old tiles as some manufacturers such as Minton marked their products underneath. After making the repairs I left the floor to set fully overnight.
I came back on day and setup my equipment ready for deep cleaning the tiles. Working in sections I applied a strong dilution of Tile Doctor Pro-Clean which is our go to Tile and Grout Cleaner. This is sprayed into the tiles and then left to soak in for at least ten minutes before being worked in with a 200-grit and then 400-grit diamond pad fitted to a weighted buffer machine.
The pads are run over each part of the floor which generates a lot of soiling and then the soiling is removed using an industrial wet vacuum. Once complete each section is reviewed and any stubborn areas retreated to the same process or spot cleaned by hand as necessary until I was happy the floor was clean.
Once the initial clean was done I treated the floor to an acid rinse with an application of Tile Doctor Acid Gel. This step further cleans up the tiles, removes grout smears and will also dissolve any efflorescent salts lurking in the tiles. After a final rinse and extraction, the cleaning process was completed and the floor was left to dry out overnight.
Sealing Victorian Floor Tiles in Boston
On the third day the floor was first tested with a damp meter to ensure it had dried before starting to apply the sealer. This is an important check as applying a sealer to a damp floor can result in a patchy appearance.
I had discussed the different types of sealer with the owner when I came to survey the floor and it was clear they preferred a matt rather than glossy appearance; also given we needed to use a fully breathable sealer I decided to go with Tile Doctor Colour Grow which would also improve the colours in the tiles.
Several coats were applied, allowing time between each coat to dry. Fortunately, I had a couple of floors to work on so as one was drying, I was able to apply sealer to the other.
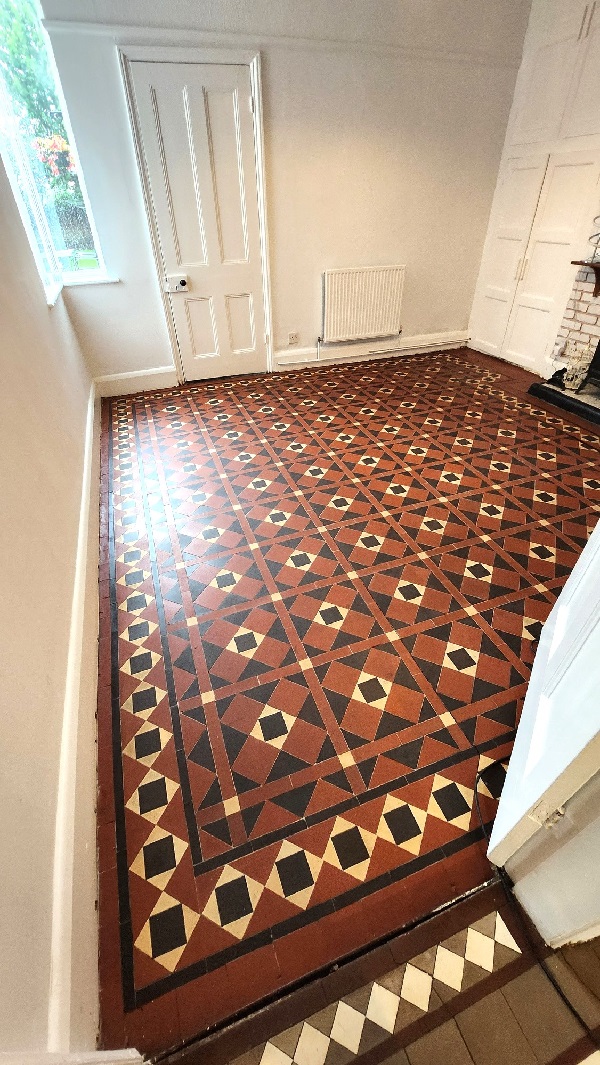
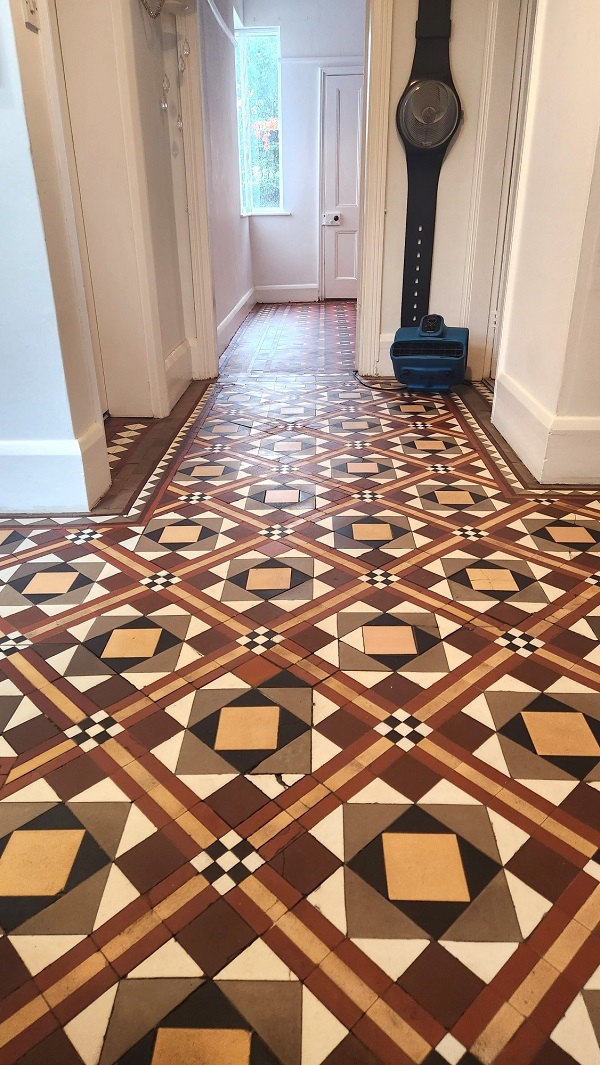
The floors were transformed by the work and the new sealer should keep them looking that way for many years to come. Before leaving I took time to discuss on-going maintenance cleaning with the owner and recommended they use a pH neutral tile cleaning products such as Tile Doctor Neutral Tile Cleaner. I always mention this as other products are simply too strong and contain bleach which can damage the sealer reducing its life.
Source: Victorian Floor Cleaning and Restoration Service in Lincolnshire

