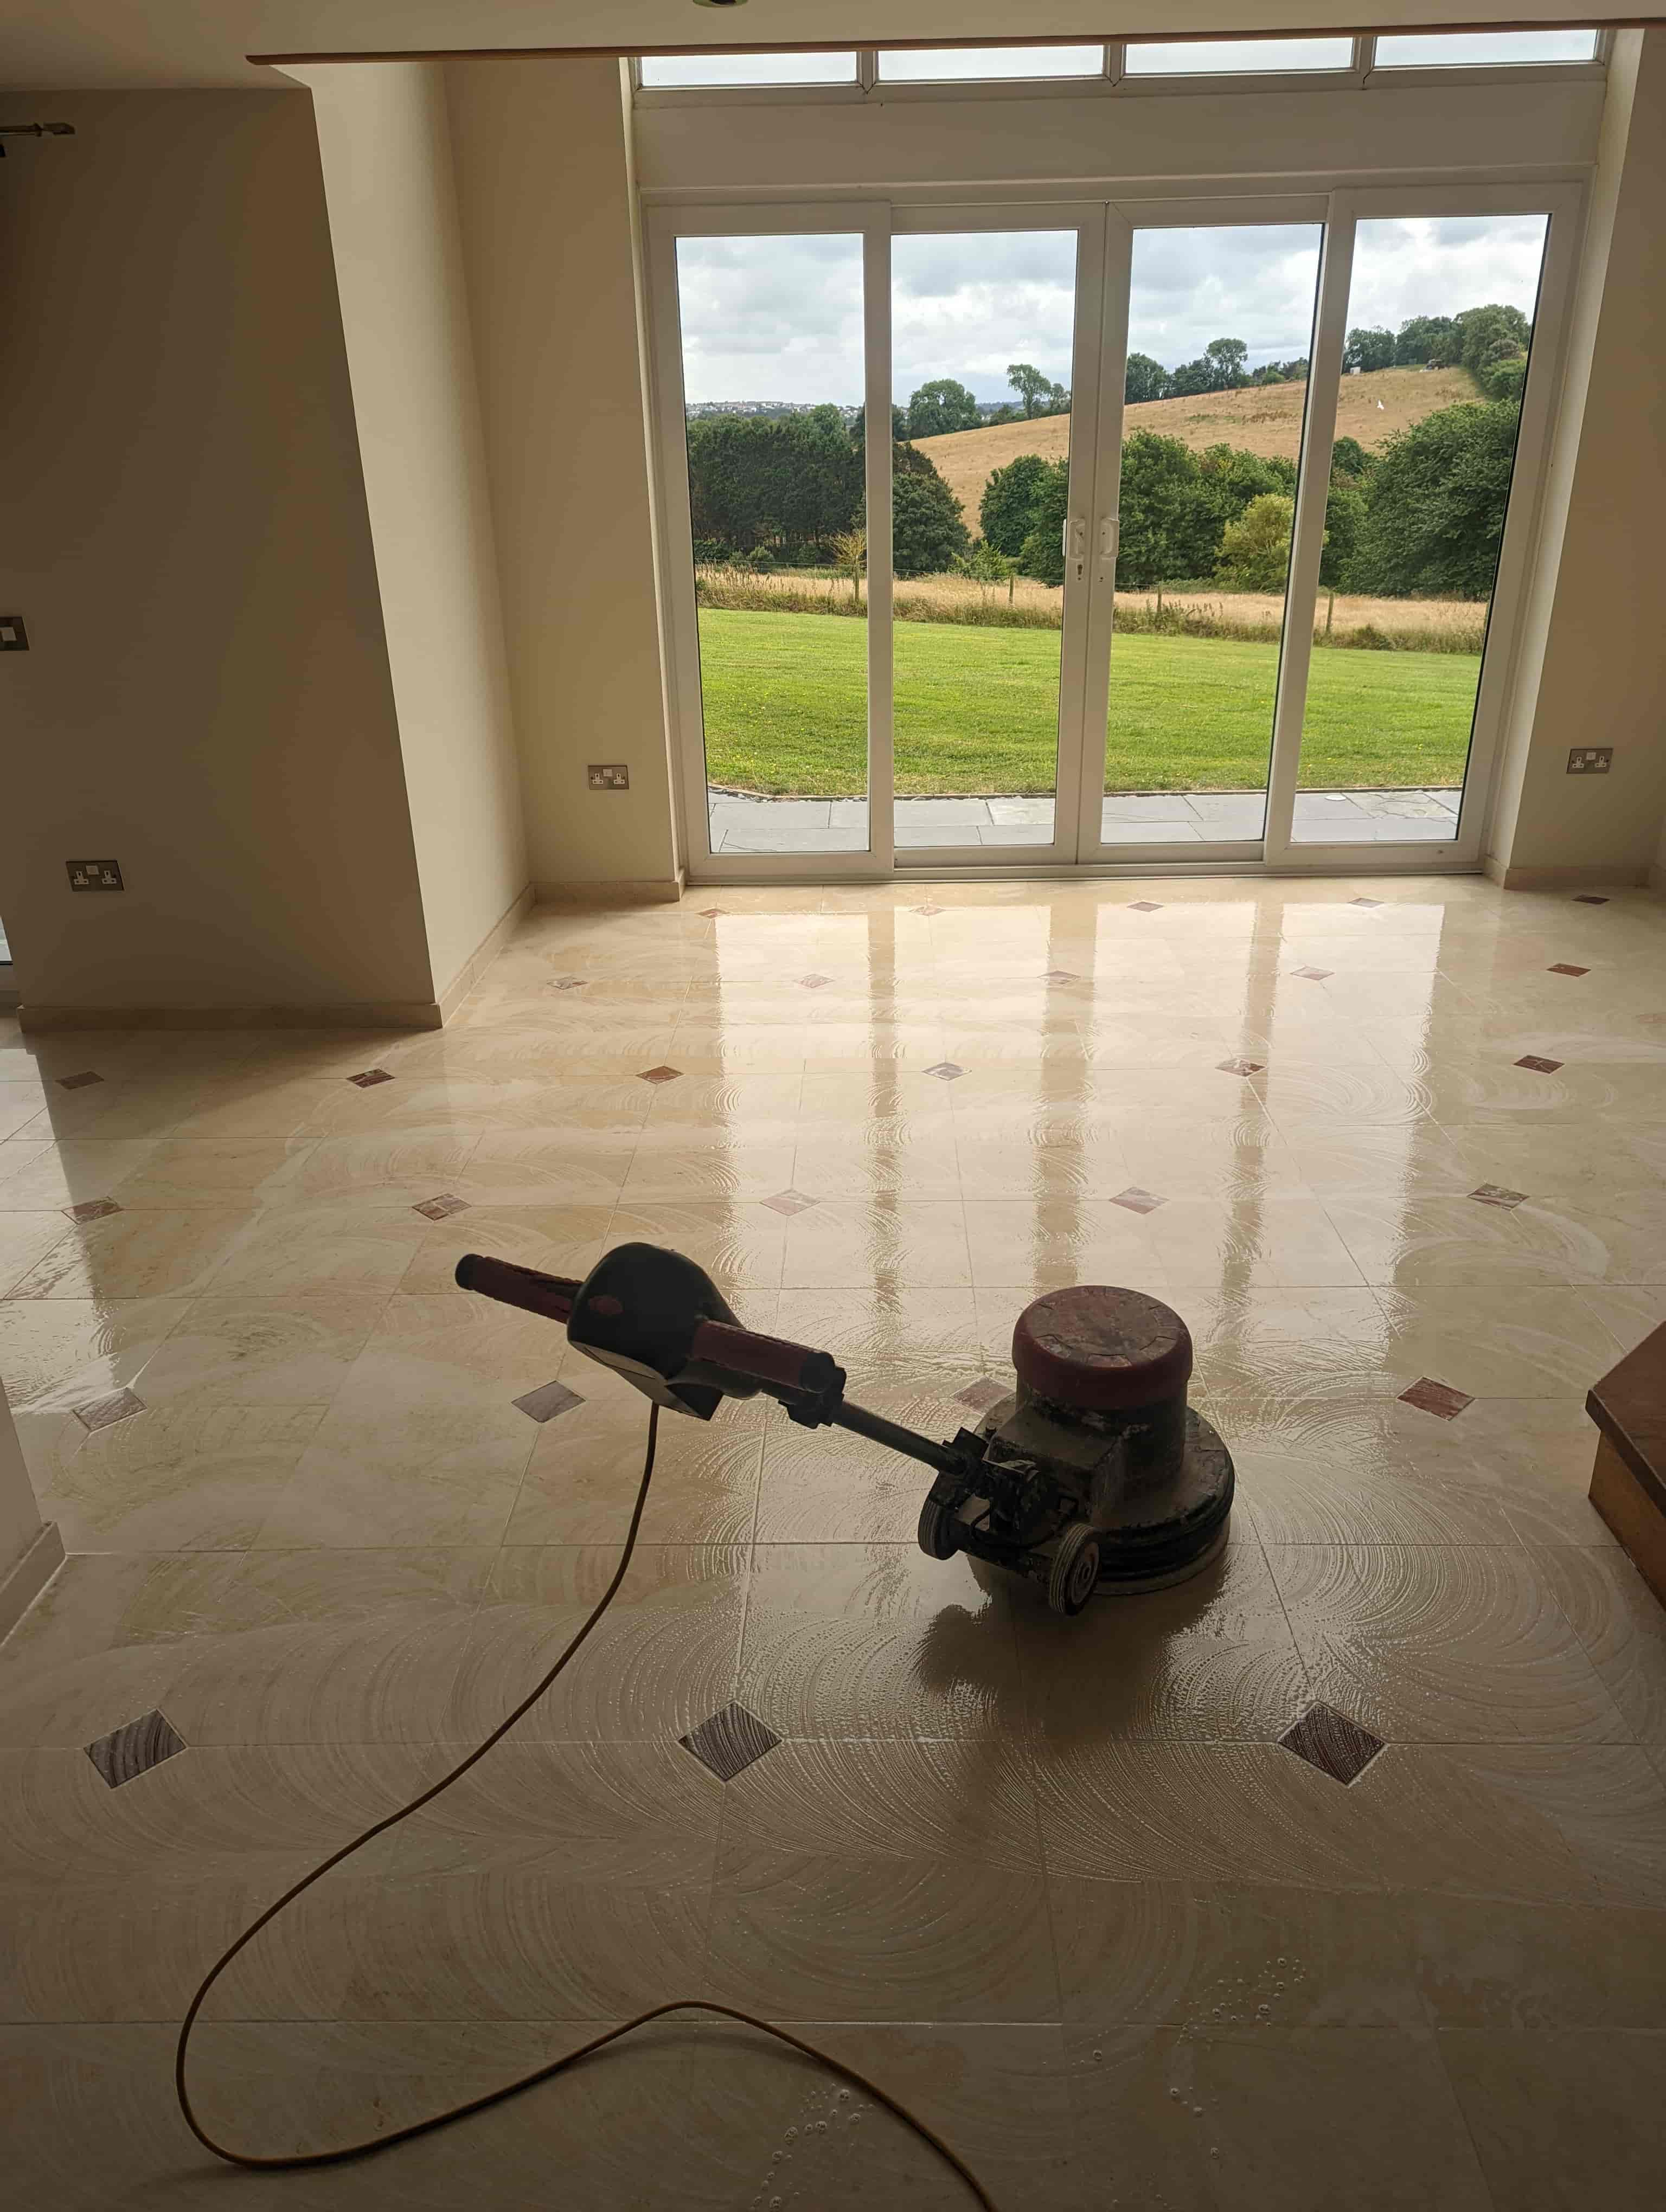
I was asked to pop over to the village of Lympstone to survey a beautiful Cream Mable tiled floor. The owner of the property was unhappy with its appearance as the wax-based product used to seal it previously had significantly dulled over the years resulting in a flat/matte look and making marks extremely obvious and difficult to remove.
Wax based products like the one used on this floor and a traditional method for protecting Marble floor but its easily marked, tricky to remove and with the advent of modern stone sealing products it’s not a solution we recommend
After surveying the 130m2 of Marble tiles, I could see the best way forward would be to remove the wax, clean the floor and then use a ‘Burnishing’ process to bring up the deep natural shine in the stone and then seal to protect. I explained the process in full and a date was agreed for my return to do the renovation.

Deep Cleaning Red and Brown Marble Kitchen Tiles
I began by scrubbing in Tile Doctor Cleaner/Stripper product called Remove & Go, this emulsified and broke down the wax seal, loosened up any surface dirt and marks and cleaned up the grout lines which was significantly discoloured due to years of use.
I find the best was to do this it to spray on the Remove and Go, then let it soak into the tile and then run over each tile with a black scrubbing pad. Pads can struggle to reach into the recesses of the grout line so to ensure a thorough clean I also run a stiff hand brush over the grout.
The floor was rinsed with water and then the soiling extracted with a wet vacuum. It was important to remove the wax before starting the next stage of burnishing other wise the diamond pads used in this process will become clogged with remnants of wax.

With the wax removed the chemical clean was complete and I was ready to move onto burnishing the Marble. On this occasion I stared with an 800-grit diamond burnishing pad fitted to a rotary machine running with added weight to make better contact with the floor. I only use water to lubricate the process and make eight to ten passes over each section. The process is then repeated without the weights using a 1500-grit diamond pad and water before vacuuming up the slurry.
Finally, I spray a small amount of fresh water onto the floor and burnish the Marble until almost dry with a 3000-grit diamond pad. This is the last step in the polishing processed and adds a lovely sheen to the stone.

Sealing Red and Brown Marble Kitchen Tiles
After the floor had been buffed dry, I finished by sealing the marble with Tile Doctor Ultra seal which is a specially formulated seal specifically for polished marble. It’s a natural look sealer that doesn’t change the characteristics of the stone and is almost invisible.
Ultra-Seal is an impregnating sealer that provides durable protection by impregnating the pores in the stone with sealer, so dirt cannot become ingrained there. The results were sharp and obvious and the customers were both very happy with the results and was a large job on their renovation tick list completed.

For aftercare cleaning of polished stone floors, we recommend using Tile Doctor Stone Soap, it’s compatible with sealers and helps maintain the patina on the stone.

