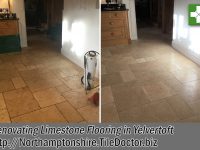
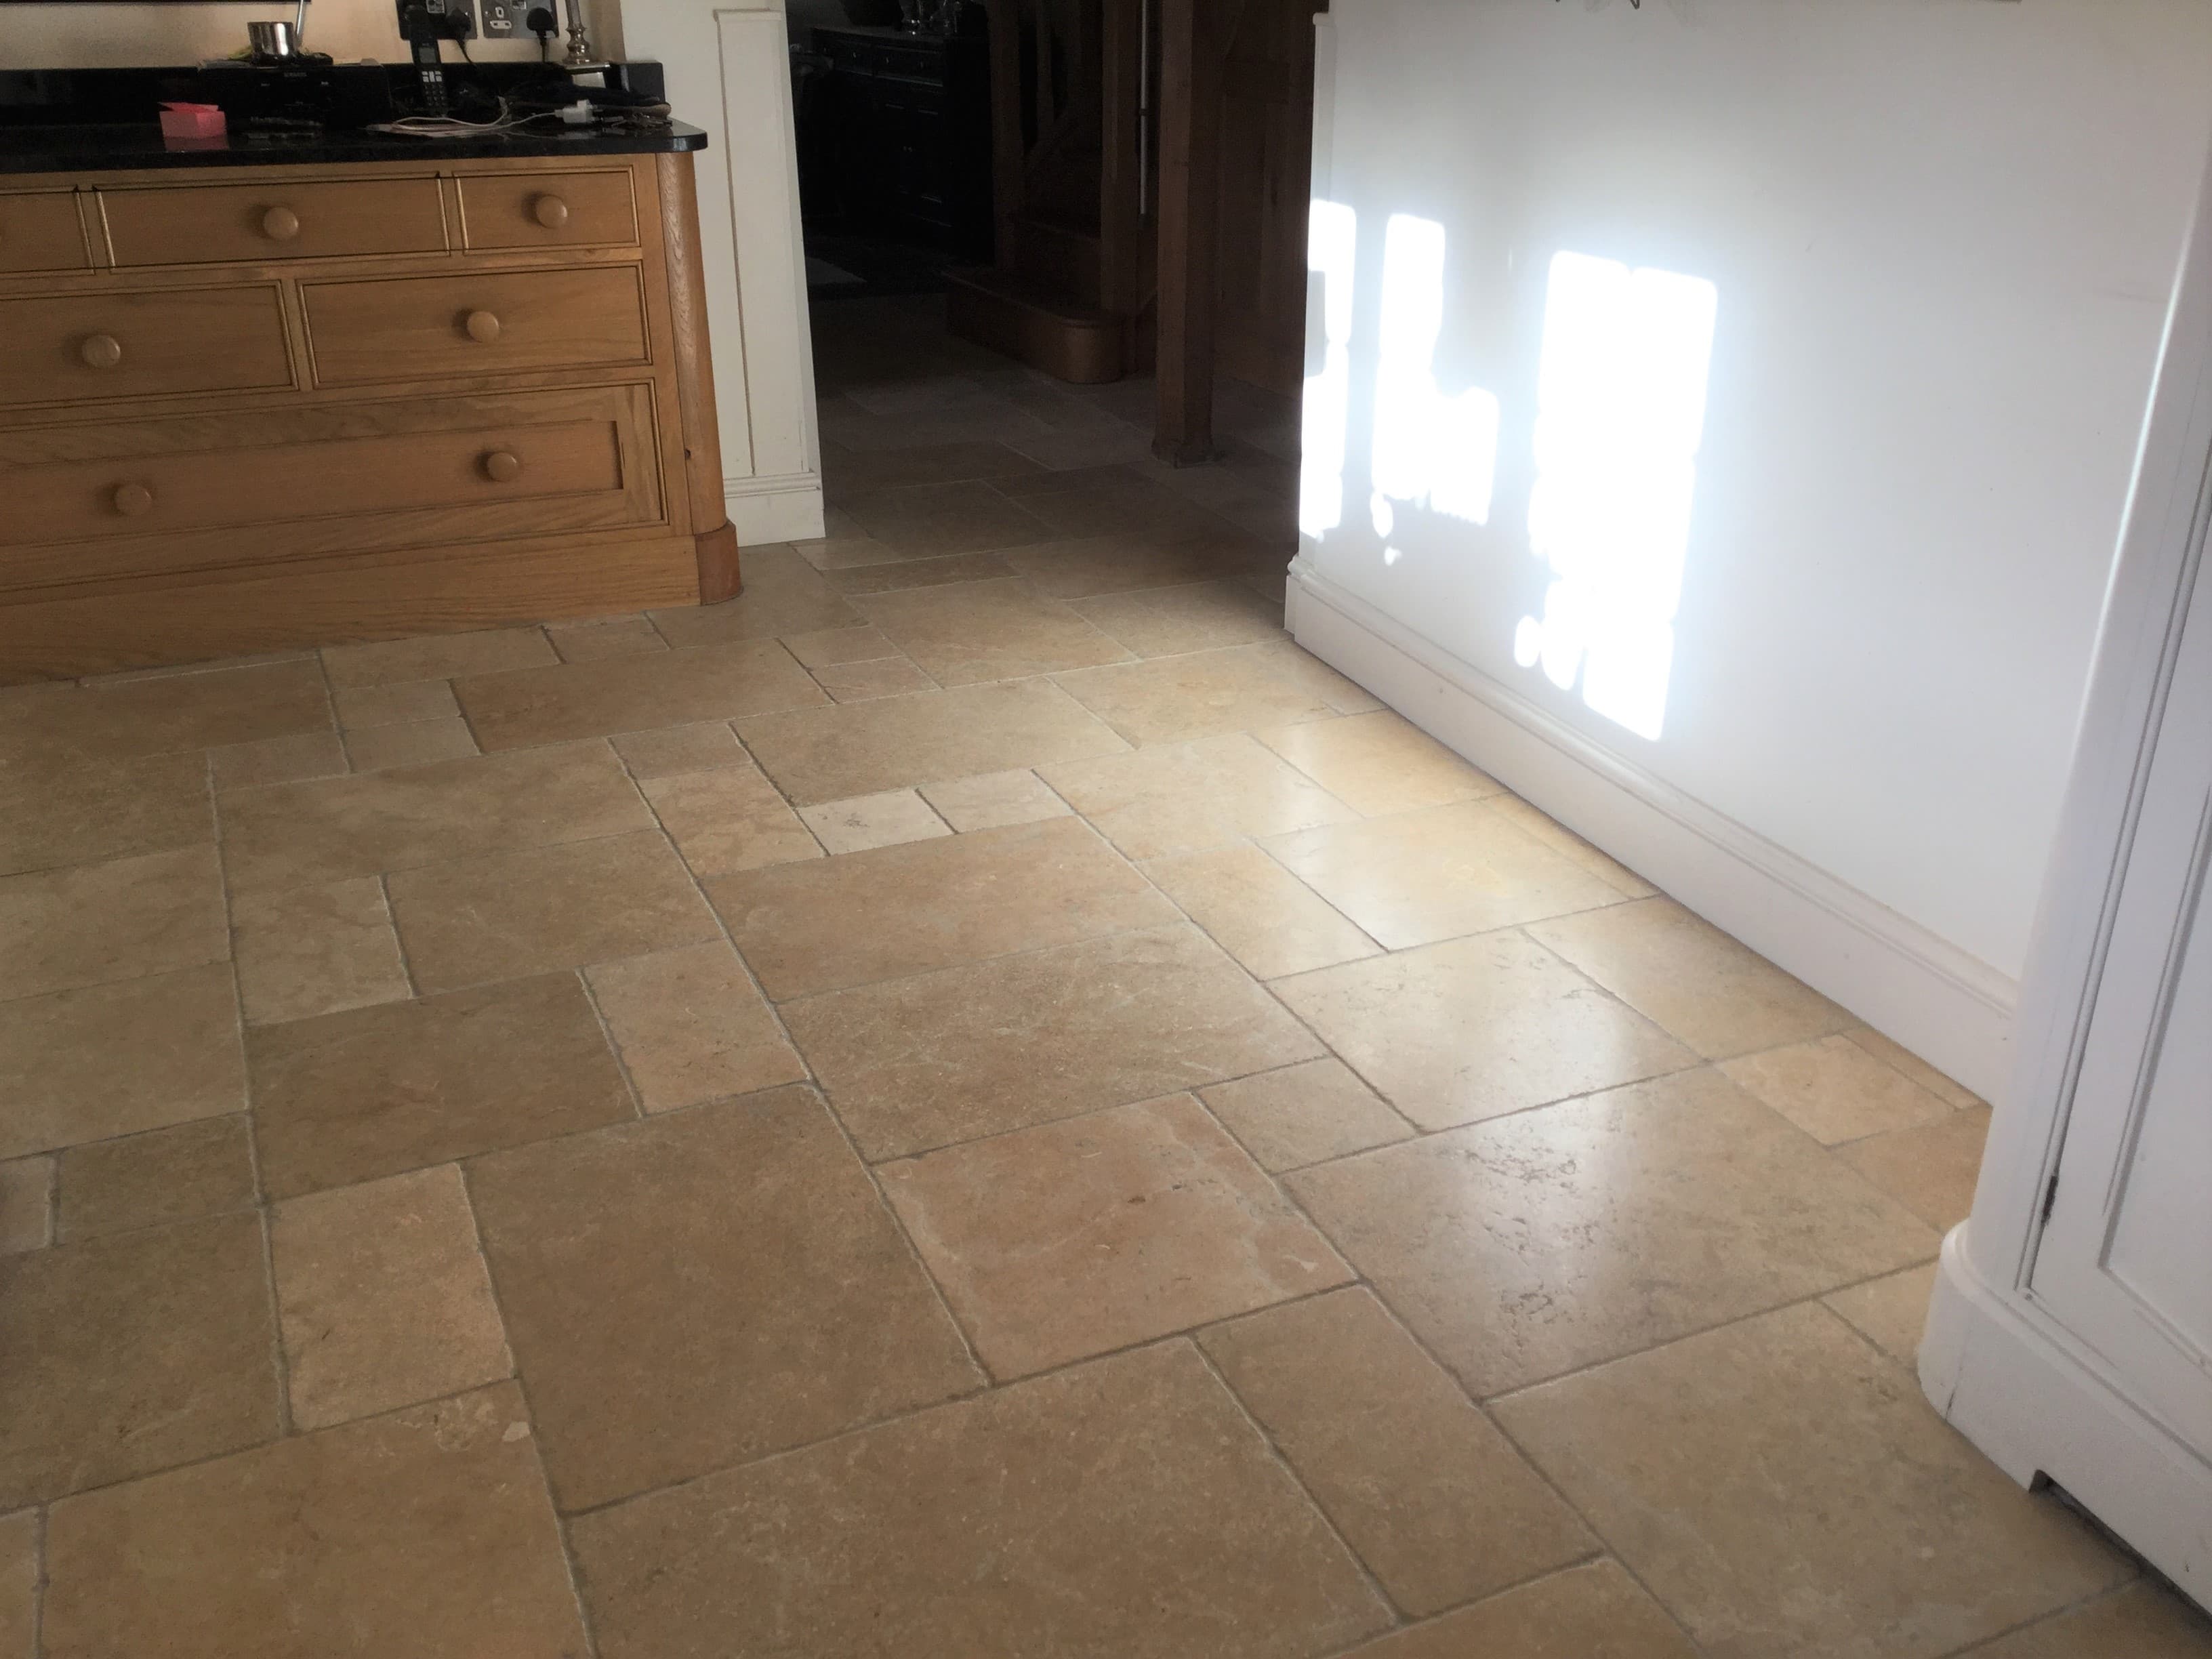
I was called in to look at this Limestone tiled kitchen and hallway floor that had been installed 12 years prior at a small cottage in Yelvertoft. Yelvertoft is a small village with a population of less than a 1000 people near Daventry, with the Grand Union Canal passing close by.
I always like to do a site visit to survey the floor before recommending a solution, photographs help but you can never be certain until you have had chance to run some tests and discussed the history of the floor with the owner. As it turns out the stone had not been professionally cleaned and sealed since it was installed and was now in a bad state. So much so that my client was concerned it was beyond restoration and had considered replacing the floor.
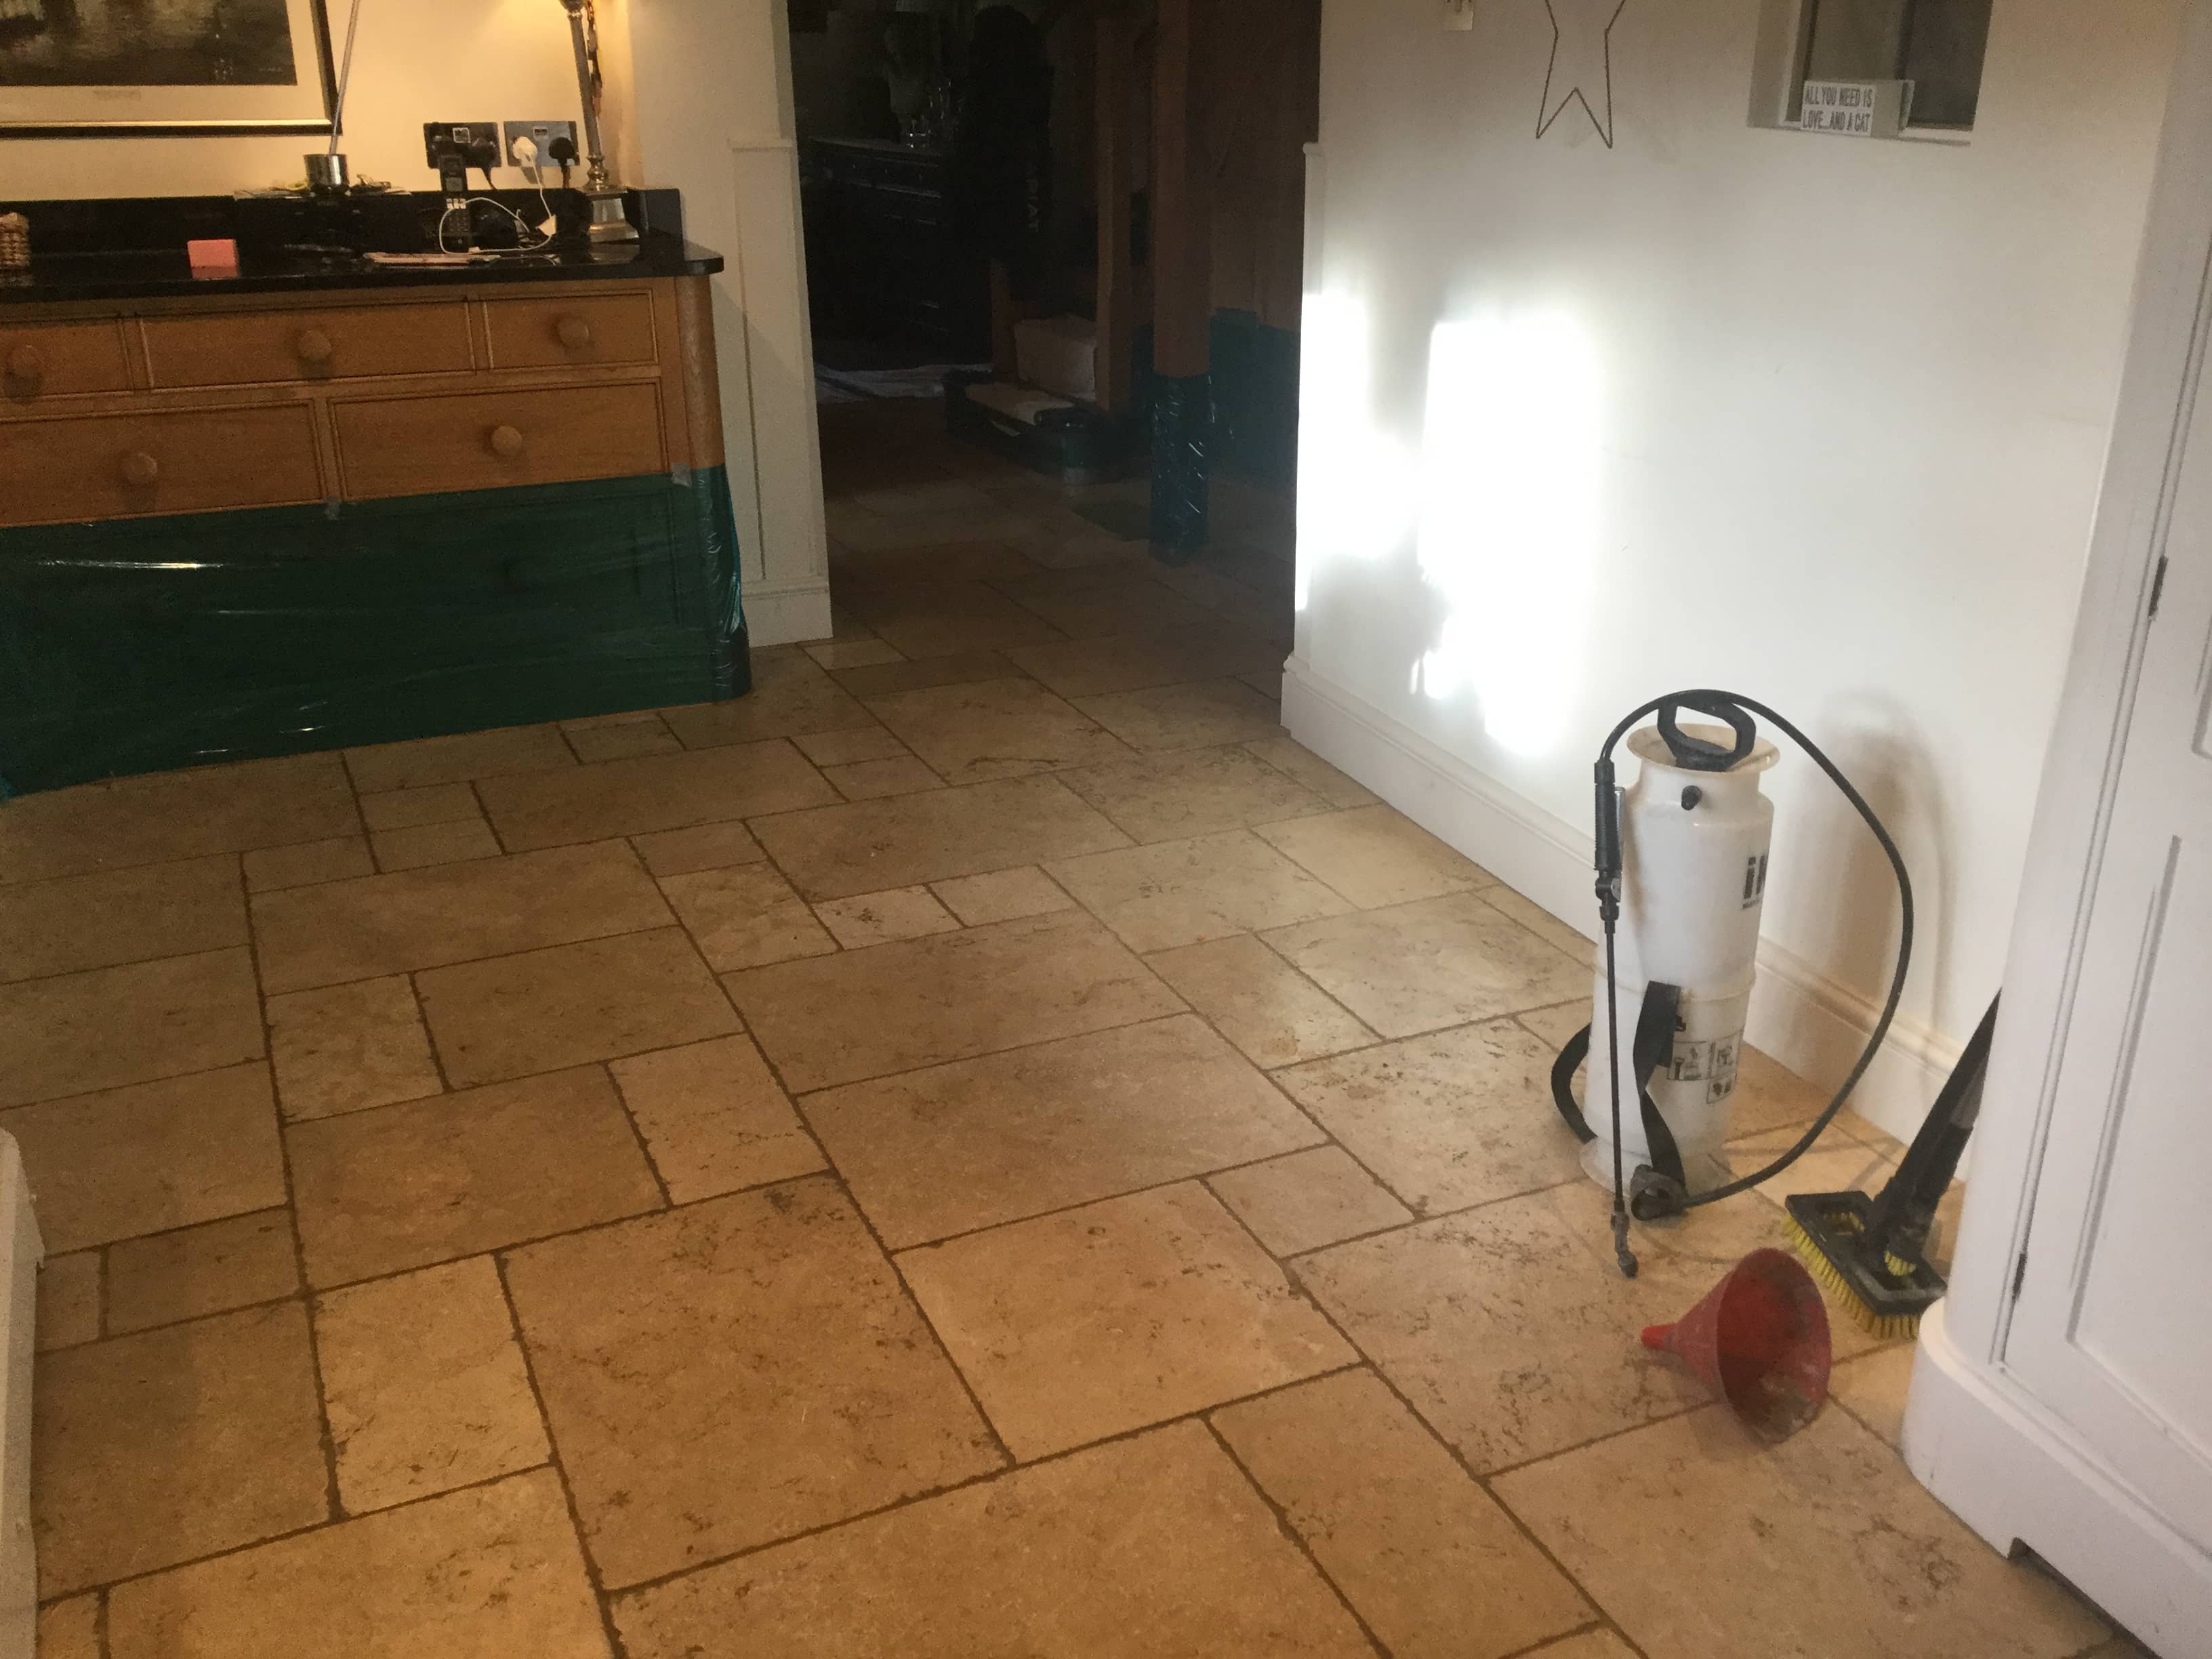
I carried out a cleaning test on a small area and although it was very badly soiled, I found the Limestone responded well to our cleaning processes. The client was quite surprised as they had almost given up on it! We discussed the process involved, which would take two days and worked out a cost for the works. Confident I would do the job well my quote was accepted, and a date set for my return.
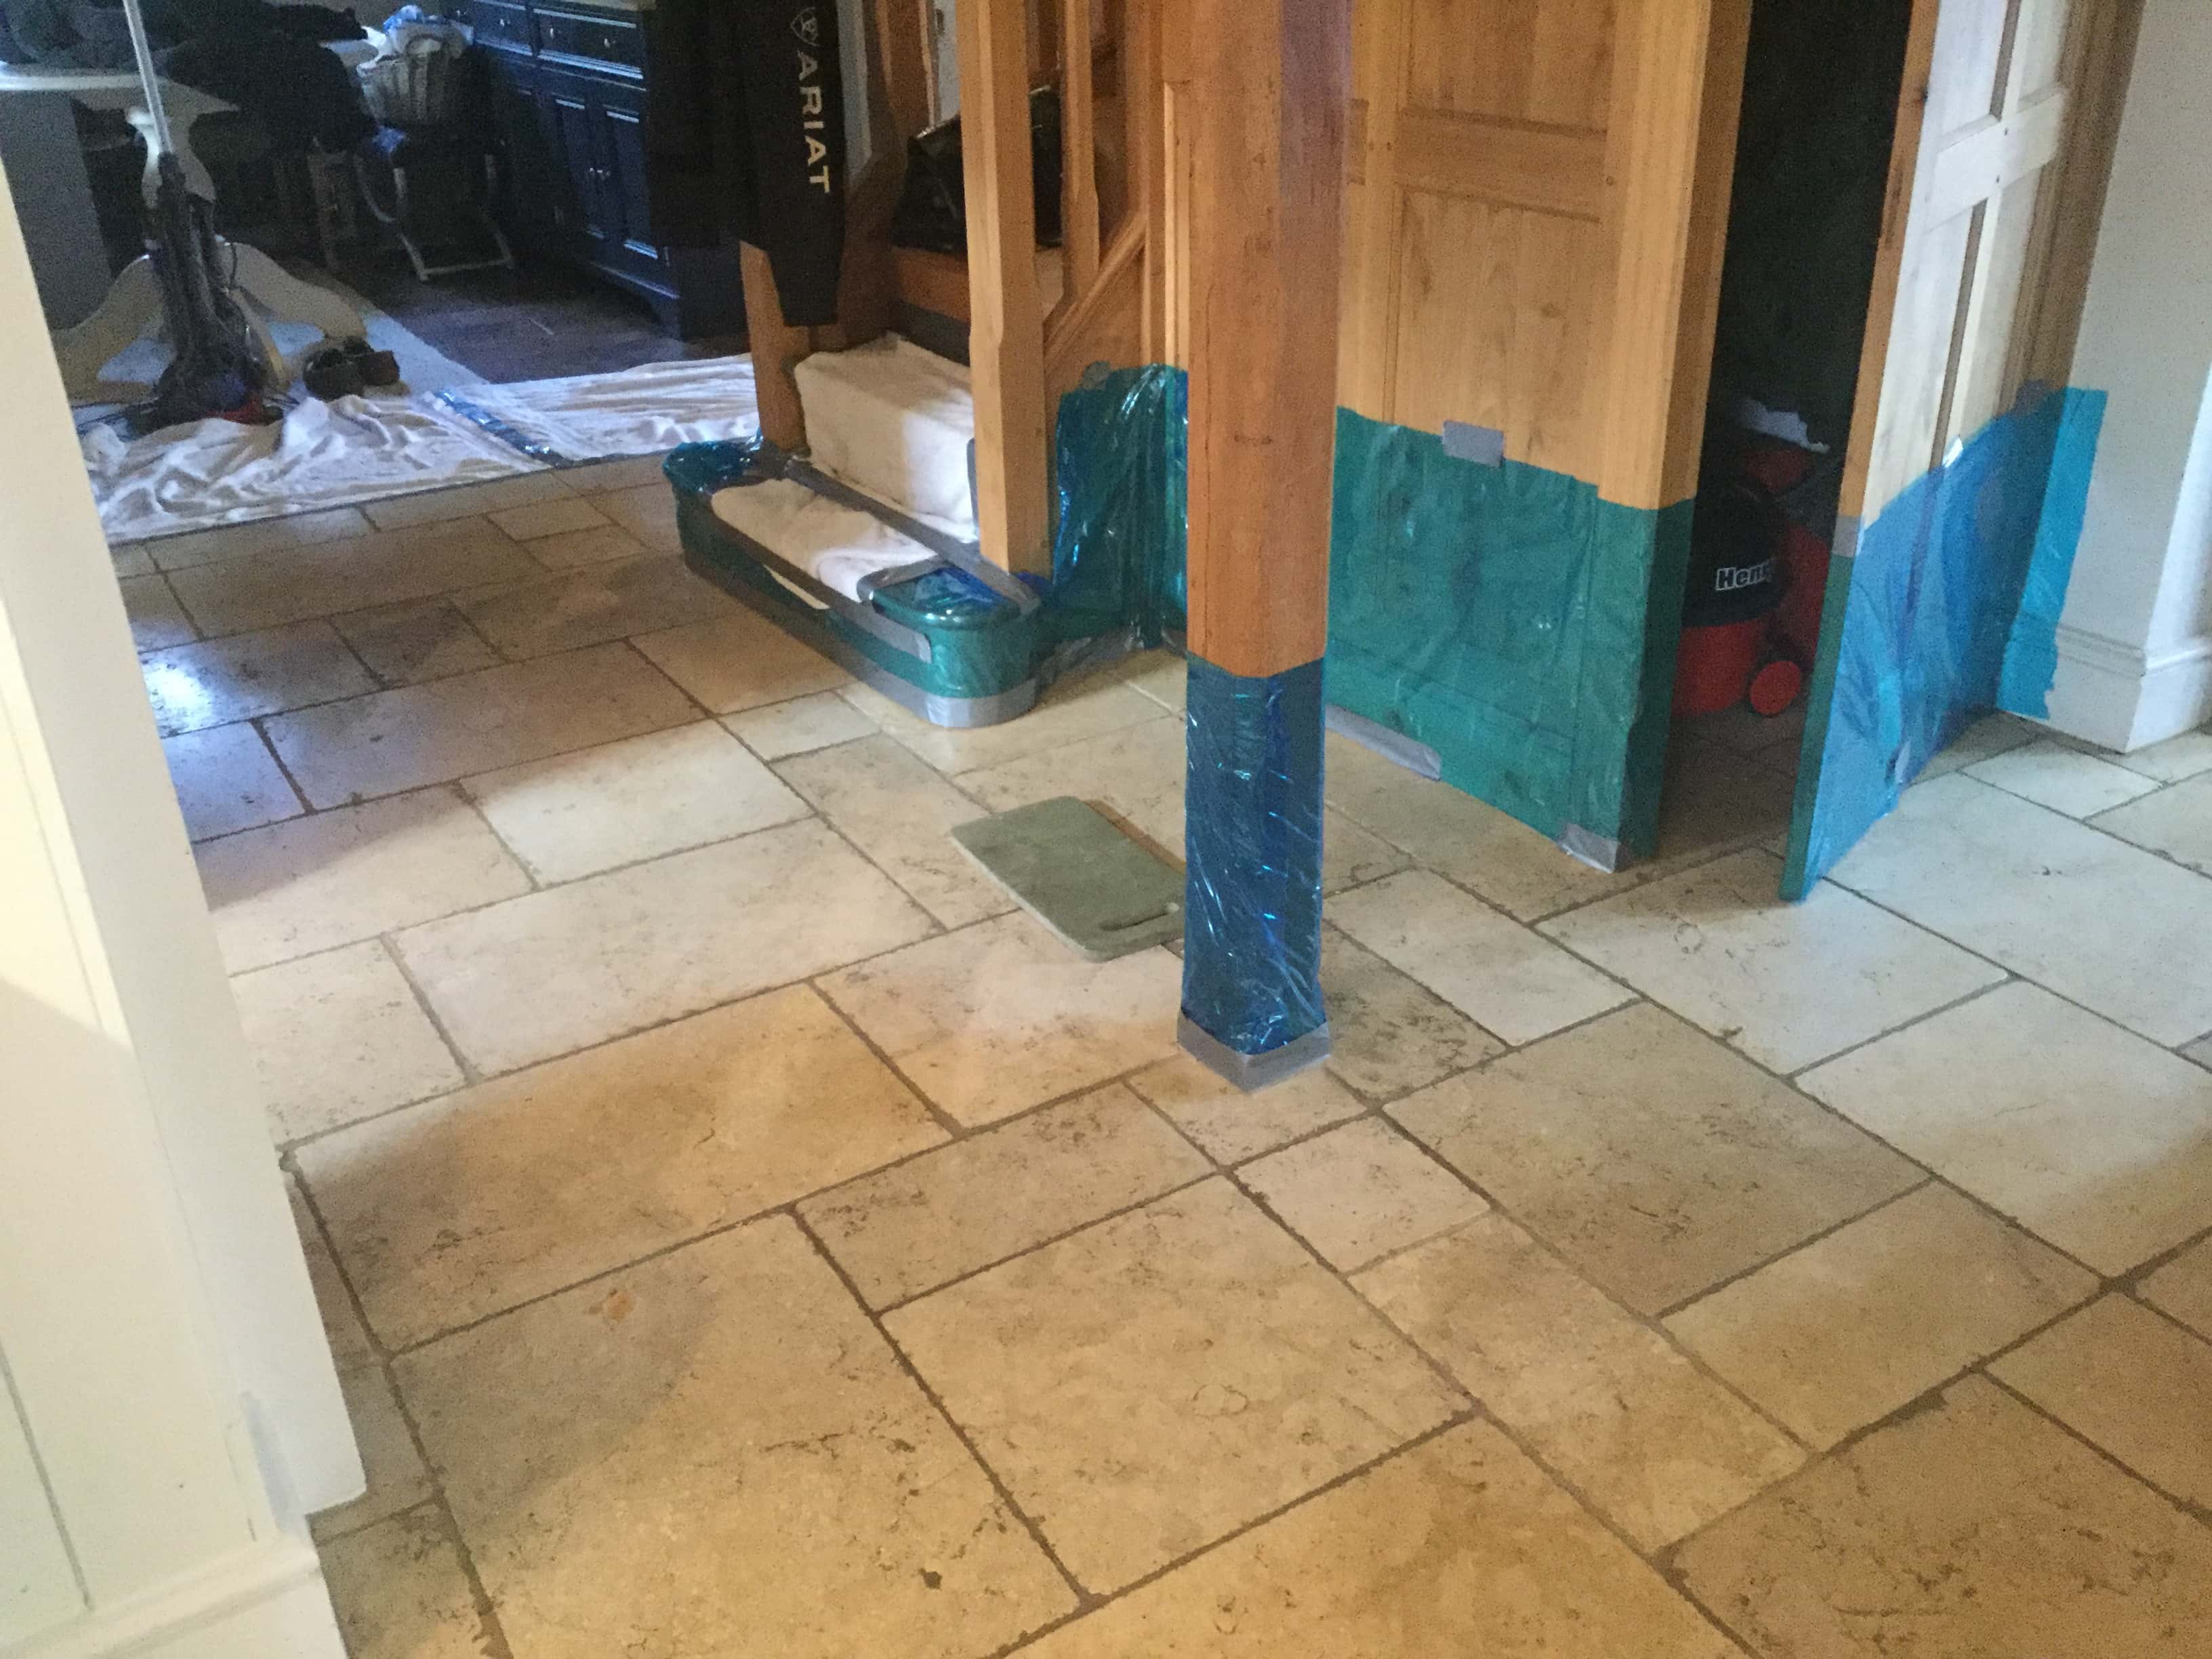
Cleaning a Limestone Tiled Kitchen and Hallway Floor
Arriving on the first day, we noted that there was a fairly new oak stairway and beam that had been fitted. I protected these and the kitchen units with a protective wrap to prevent any splashes from the cleaning process.
To restore the appearance of the Limestone I started with the application of a set of Tile Doctor Burnishing pads beginning with a very coarse 200-grit pad instead of the usual 400-grit. I reasoned that with the Stone being in such bad condition it could benefit from the coarser pad which gives a very deep clean, removing light and medium scratches by resurfacing the top of the tile. The pads are applied with water to lubricate and the fine slurry generated is rinsed off afterwards with more water and then extracted with a wet vacuum. After applying the 200-grit pad this process is repeated with increasingly higher grit pads to further hone the stone and eventually finishing with a very fine 3000 grit pad to achieve a polished finish.
Once I was satisfied with the Limestone tiles a strong dilution of Tile Doctor Pro-Clean and Grout Clean-Up was used to remove the stubborn staining from the grout lines. The floor was given a final rinse and extraction and you could see a huge improvement in the floor which looked lighter and much cleaner.
Sealing a Limestone Tiled Kitchen and Hallway Floor
I allowed the floors to dry off overnight and returned the next day to apply a sealer first checking for moisture with a damp meter to ensure the floor was dry and ready for sealing.
To seal the Limestone, I chose Tile Doctor Ultra Seal Sealant which is a no-sheen, natural-look, penetrating sealer that is formulated to provide maximum stain protection, especially in food preparation areas like the kitchen. It is also an excellent grout sealer, but mainly it gives a lovely natural finish allowing the variations in the natural Limestone to shine through.
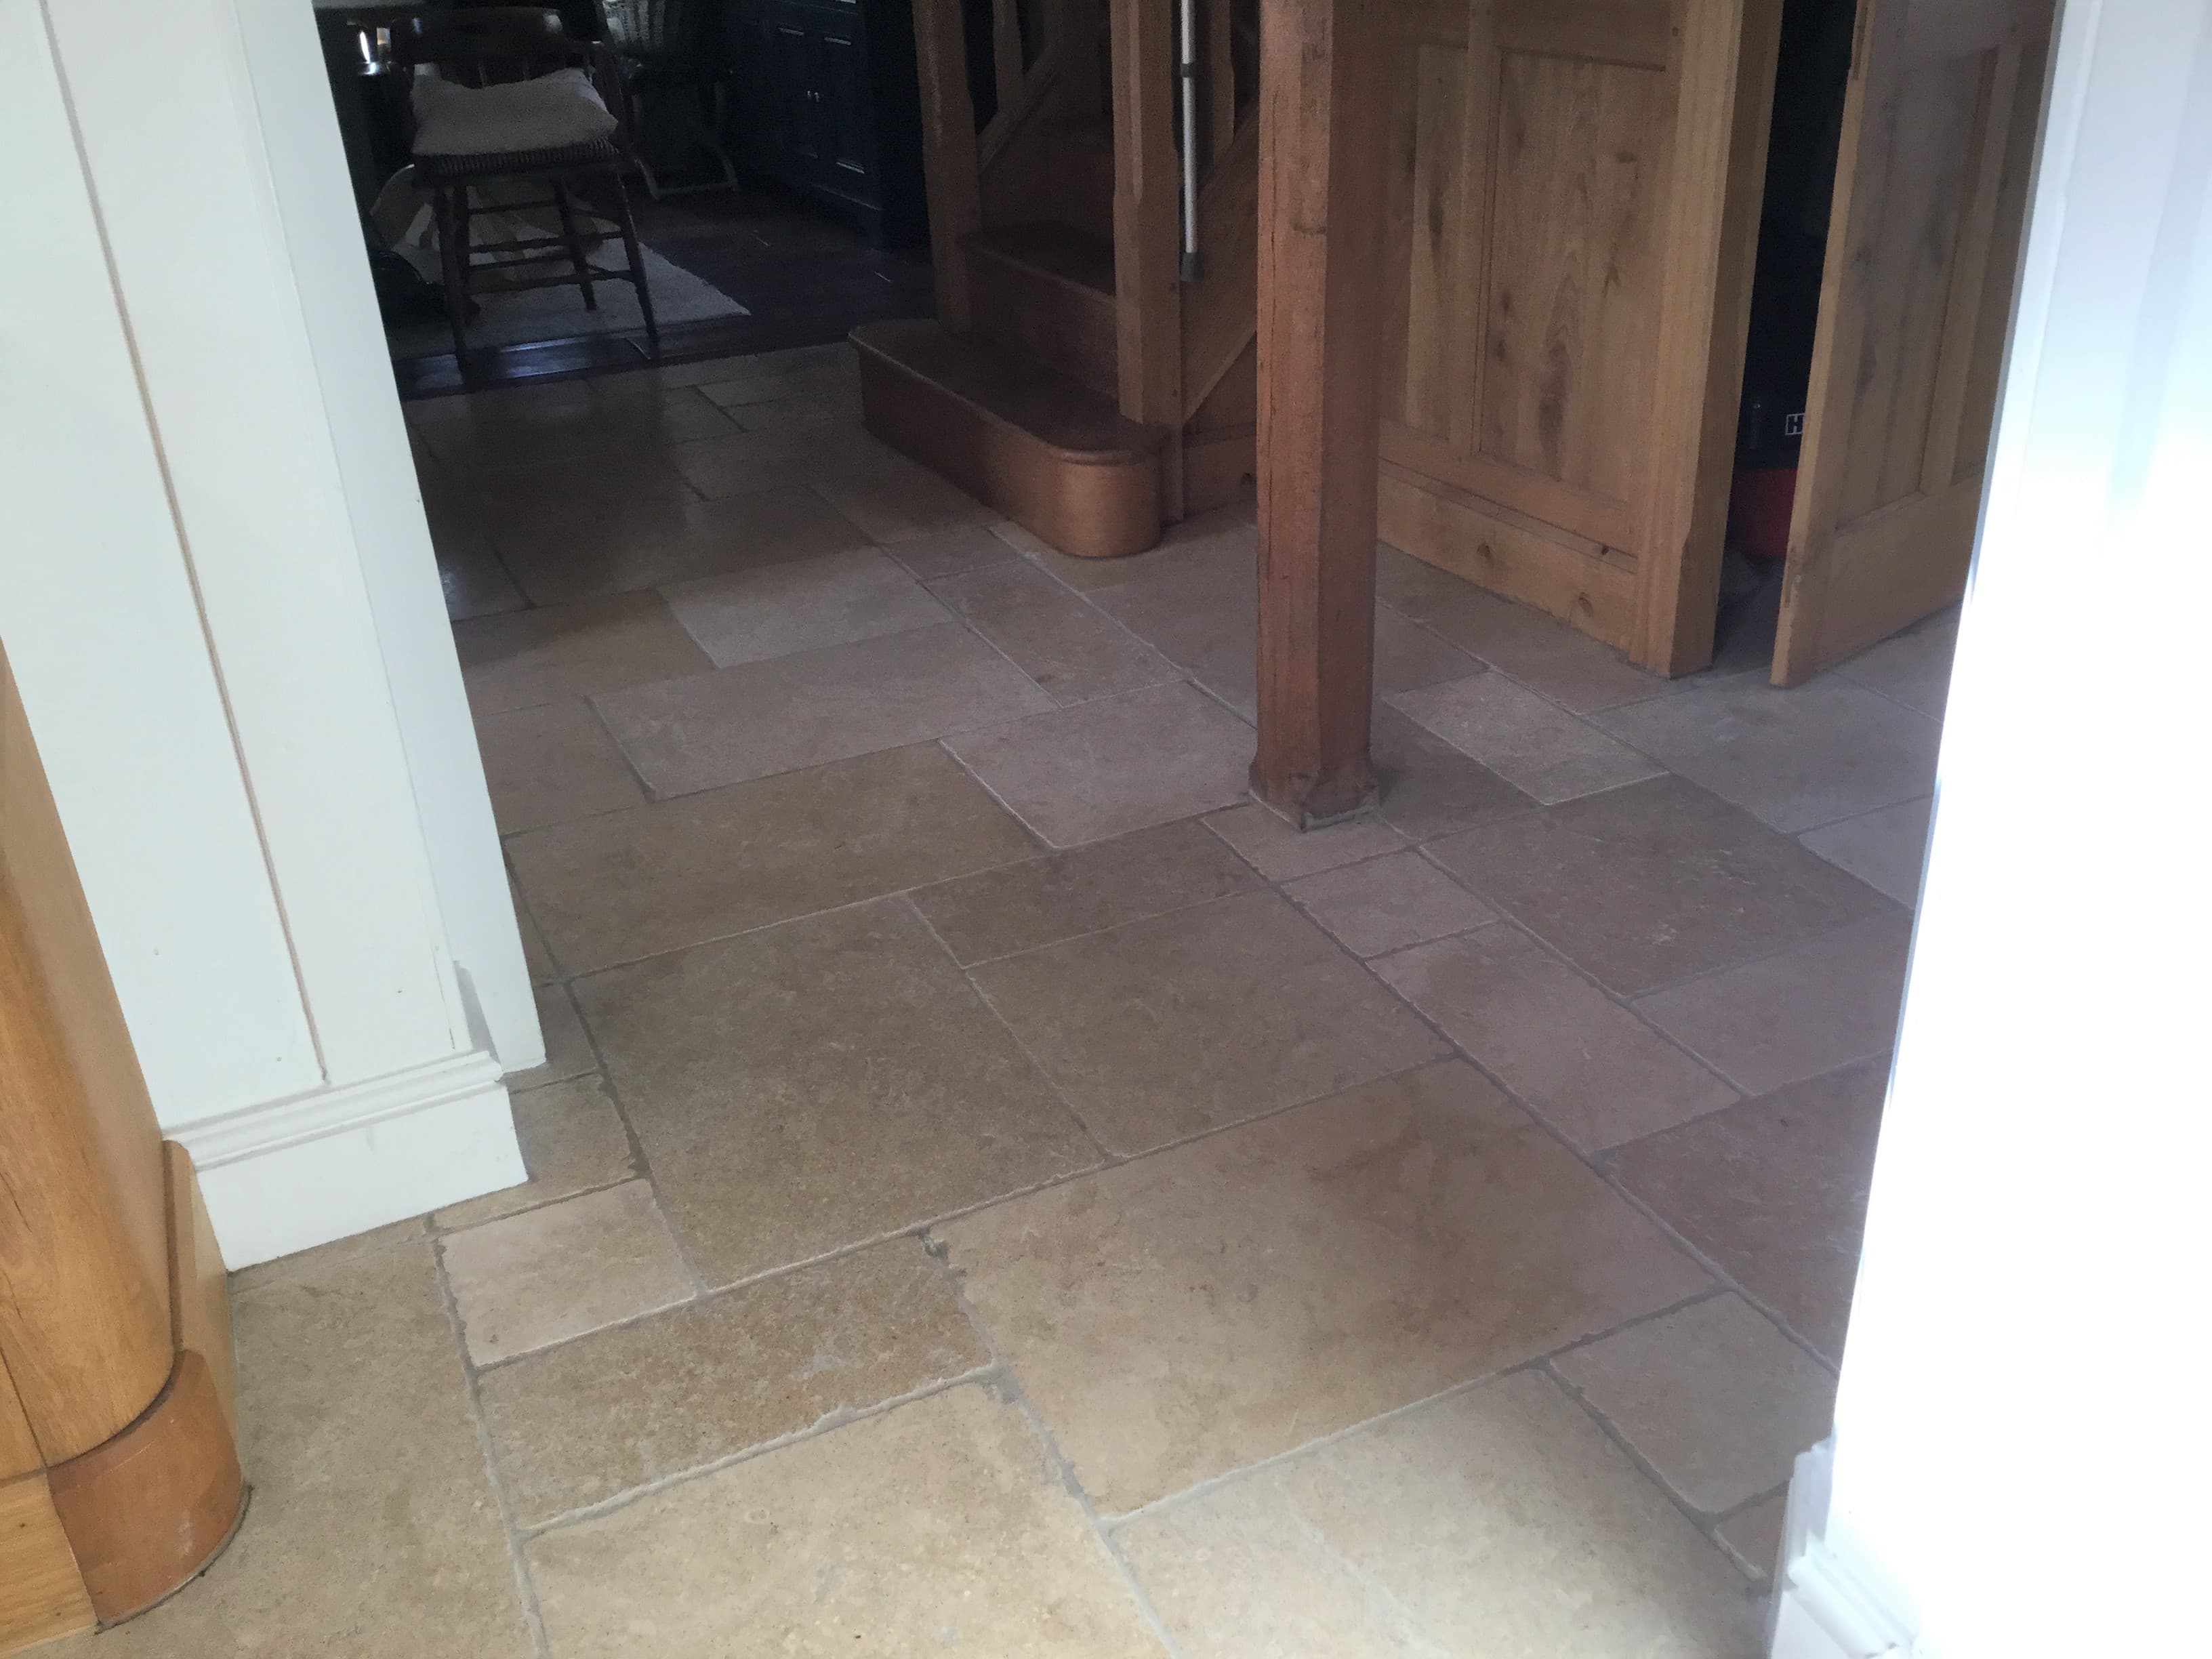
The pictures and clients’ testimonial really do speak for themselves; I was really pleased that she was so satisfied with the result and had saved a fortune in relaying the floor.
“I was about to replace my Limestone 12 year old floor … then Phil the Tile Doctor worked his magic… I now have a good as new lovely floor, I am absolutely delighted. Thanks, so much Phil.” Louise O, Yelvertoft
Source: Limestone Cleaning and Sealing Service in Northamptonshire

